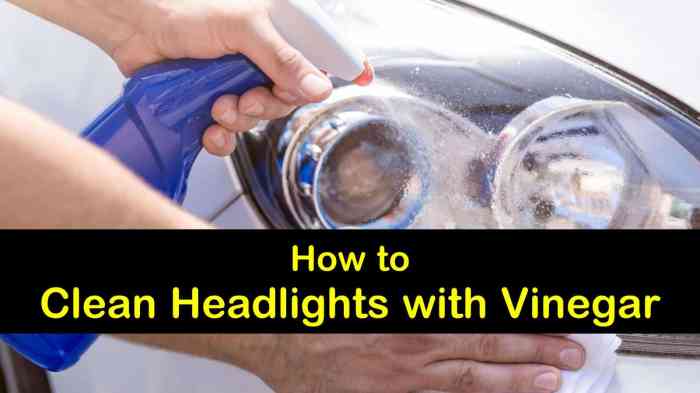
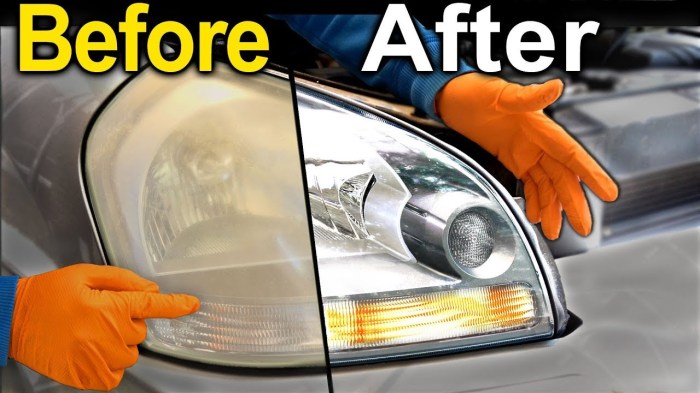
How to clean headlights DIY takes center stage as we delve into the art of restoring faded and cloudy headlights. Headlights are essential for safe driving, and over time, they can become oxidized, reducing visibility and potentially putting you at risk. This guide will equip you with the knowledge and techniques to revitalize your headlights, bringing back their brilliance and enhancing your driving experience.
We’ll explore the science behind headlight oxidation, gather the necessary materials, and walk you through a step-by-step process for restoring your headlights to their former glory. From removing stubborn oxidation to applying a protective coating, we’ll cover everything you need to know to achieve professional-looking results without breaking the bank. Let’s get started on bringing back the shine to your headlights.
Understanding Headlight Oxidation
Headlight oxidation is a common problem that can significantly reduce visibility, especially during nighttime driving. Over time, the clear plastic lens of your headlights becomes cloudy, yellowed, or even cracked, making it harder for your car’s lights to illuminate the road properly. This can be a safety hazard, particularly in low-light conditions.
Causes of Headlight Oxidation
Headlight oxidation is primarily caused by exposure to the elements. The UV rays from the sun, along with moisture, dirt, and road debris, can gradually damage the protective coating on the headlight lens. This damage leads to the formation of microscopic cracks and scratches, causing the lens to become cloudy and yellowed.
- Ultraviolet (UV) Radiation: The sun’s UV rays can break down the chemical bonds in the plastic lens, making it brittle and prone to cracking.
- Moisture: Rain, snow, and even humidity can seep into the tiny cracks and scratches on the headlight lens, accelerating the oxidation process.
- Dirt and Debris: Road grime, dust, and other debris can scratch the headlight lens, providing entry points for moisture and further oxidation.
- Temperature Fluctuations: Extreme temperature changes can cause the plastic lens to expand and contract, leading to stress and cracking.
- Chemicals: Some chemicals found in car washes or road de-icing solutions can also damage the headlight lens.
Identifying the Severity of Oxidation
The severity of headlight oxidation can vary depending on the age of your car and the extent of its exposure to the elements. Here’s a quick guide to help you assess the level of oxidation:
- Mild Oxidation: The headlight lens has a slight haze or cloudiness, but the light output is still relatively good.
- Moderate Oxidation: The headlight lens is noticeably cloudy or yellowed, and the light output is significantly reduced.
- Severe Oxidation: The headlight lens is severely cloudy or yellowed, and the light output is extremely poor. The lens may even have cracks or chips.
Gathering Materials

You’ll need a few essential supplies to restore your headlights to their former glory. The process involves cleaning, sanding, and applying a protective coating.
Let’s break down the materials you’ll need, categorized for easy reference:
Cleaning Agents
These agents are crucial for removing dirt, grime, and debris from your headlights before you start sanding.
Cleaning your headlights is a simple DIY project that can dramatically improve your visibility at night. If you’re looking for a way to enjoy your outdoor space without being bothered by mosquitoes, you might consider building a mosquito misting system diy. Once your headlights are sparkling clean and you’ve repelled those pesky mosquitos, you’ll be ready to enjoy your next nighttime adventure.
- Dish Soap: A gentle yet effective cleaner that removes surface dirt and grease.
- Automotive Degreaser: A stronger cleaning agent that tackles stubborn residues like oil and tar.
- Water: Essential for rinsing and cleaning the headlights thoroughly.
- Microfiber Cloths: Gentle and lint-free cloths for drying and wiping the headlights.
Abrasives
Abrasives are used to remove the oxidized layer and restore the headlight’s clarity. Choose the right grit based on the severity of the oxidation.
- Sandpaper: Available in various grits, from coarse to fine. Start with a coarse grit (e.g., 400 grit) for initial sanding and progressively move to finer grits (e.g., 800, 1000, 1500, 2000 grit) for smoother finishes.
- Wet Sanding Paper: Specifically designed for wet sanding, providing a smoother finish and reducing dust.
- Sanding Block: Provides a stable platform for sanding and ensures even pressure distribution.
Protective Coatings
These coatings help seal the restored surface and protect it from future oxidation.
- Headlight Restoration Kit: These kits often include everything you need, including sanding pads, polishing compounds, and protective sealant.
- UV-Resistant Clear Coat: A durable coating that shields the headlights from harmful UV rays and prevents future oxidation.
- Ceramic Coating: Provides a long-lasting, hydrophobic layer that repels water, dirt, and debris.
Optional Materials
- Masking Tape: Protect surrounding areas from accidental scratches or paint damage.
- Plastic Polishing Compound: Used for final polishing to achieve a high gloss finish.
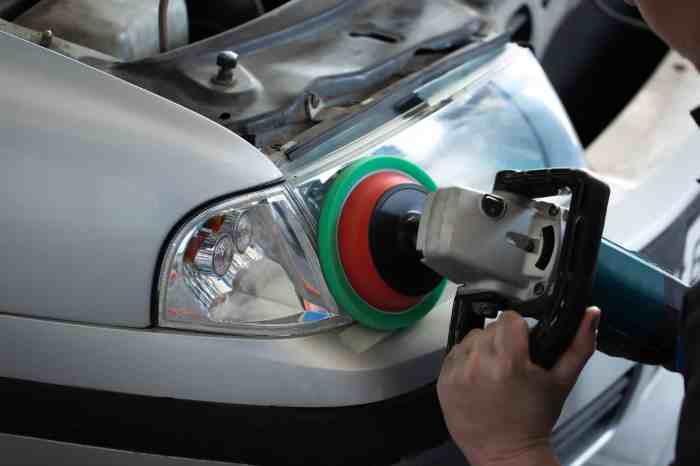
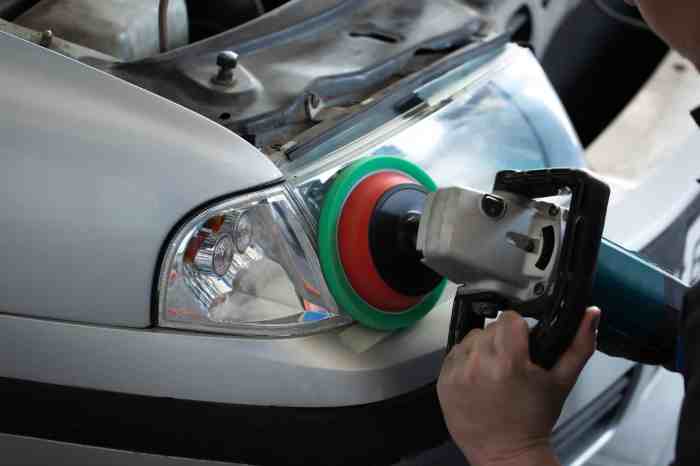
- Electric Drill with a Polishing Attachment: Can be used to speed up the sanding and polishing process.
Preparing the Headlights

Before you start restoring your headlights, it’s crucial to properly clean and prepare them. This ensures the restoration process is effective and prevents any damage to the surrounding areas.
Cleaning and Preparing the Headlights
The first step is to clean the headlights thoroughly. This removes any dirt, debris, or grime that could interfere with the restoration process.
- Use a mild soap and water solution to wash the headlights.
- Avoid using harsh chemicals or abrasive cleaners, as they can damage the headlight lens.
- Rinse the headlights thoroughly with clean water to remove any soap residue.
- Dry the headlights completely with a clean microfiber cloth.
Removing Oxidation
Now that your headlights are prepped, it’s time to tackle the oxidation. This is the core of the DIY headlight restoration process, and it involves removing the cloudy, hazy layer that obscures the lens.
Sanding Techniques, How to clean headlights diy
Sanding is the most common method for removing oxidation, and it involves using progressively finer grits of sandpaper to gradually smooth out the surface of the headlight lens. This process removes the damaged outer layer of the plastic, revealing the clear plastic underneath.
- Start with coarse grit sandpaper (400-600 grit): This removes the most significant oxidation and scratches. Work in small, circular motions, applying gentle pressure. Avoid pressing too hard, as this can damage the lens.
- Progress to medium grit sandpaper (800-1000 grit): This smooths out the surface further, removing any remaining deep scratches. Continue using circular motions and light pressure.
- Finish with fine grit sandpaper (1200-1500 grit): This removes any remaining fine scratches and prepares the lens for polishing. Again, use circular motions and light pressure.
Important: Use a sanding block to ensure even pressure and prevent uneven sanding. Always sand in a circular motion, avoiding back-and-forth strokes. And, most importantly, be patient. Sanding can take some time, but it’s crucial to remove all the oxidation for a successful restoration.
Using Sanding Pads
Sanding pads are a more convenient alternative to sandpaper. They are typically made of foam or rubber and are coated with abrasive material. They are available in various grits, allowing you to follow a similar sanding progression as with sandpaper.
- Start with a coarse grit pad: This removes the bulk of the oxidation. Use a circular motion and apply gentle pressure.
- Progress to a medium grit pad: This smooths out the surface further. Continue using circular motions and light pressure.
- Finish with a fine grit pad: This removes any remaining scratches and prepares the lens for polishing.
Tip: If you’re using sanding pads, it’s a good idea to wet them with water or a sanding lubricant. This helps to prevent clogging and ensures a smoother sanding process.
Polishing Compounds
Once you’ve sanded the headlight lens, it’s time to polish it. Polishing compounds come in various grades, from coarse to fine. The purpose of polishing is to remove any remaining scratches and imperfections, creating a smooth, shiny surface.
- Start with a coarse polishing compound: This removes any deep scratches left by the sanding process. Apply the compound to the lens using a clean cloth or polishing pad. Work in circular motions, applying gentle pressure.
- Progress to a medium polishing compound: This removes any remaining medium scratches and further improves the shine. Apply the compound as before and work in circular motions.
- Finish with a fine polishing compound: This removes any remaining fine scratches and creates a high-gloss finish. Apply the compound as before and work in circular motions.
Note: It’s important to choose the right polishing compound for your headlights. If the oxidation is severe, you may need to start with a coarse compound. If the oxidation is mild, you can start with a medium compound.
Polishing and Refinishing: How To Clean Headlights Diy

After removing the oxidation, the next step is to polish your headlights to achieve a smooth and clear finish. This involves using a series of polishing compounds with varying grit levels to remove any remaining scratches or imperfections.
Polishing Compounds
Polishing compounds are abrasive pastes that are used to smooth and shine surfaces. They come in different grit levels, with higher grit numbers indicating a finer abrasive. When polishing headlights, you’ll typically use a series of compounds, starting with a coarser grit to remove deeper scratches and then progressing to finer grits to achieve a smooth finish.
- Coarse Grit: These compounds are used to remove deep scratches and imperfections. They are typically used first and are more aggressive than finer grits. Examples include 2000 grit or 1500 grit compounds.
- Medium Grit: These compounds are used to refine the surface and remove any remaining scratches left by the coarse grit. Examples include 2500 grit or 3000 grit compounds.
- Fine Grit: These compounds are used to achieve a smooth and glossy finish. They are the least abrasive and are used last. Examples include 4000 grit or 5000 grit compounds.
Polishing Technique
Once you have your polishing compounds, you can start polishing your headlights. Here’s how:
- Apply the compound: Apply a small amount of the polishing compound to a clean microfiber cloth or polishing pad.
- Work the compound: Work the compound in circular motions on the headlight lens. Apply moderate pressure, but avoid pressing too hard, as this can damage the lens.
- Remove the compound: After working the compound for a few minutes, use a clean microfiber cloth to remove the compound and any residue.
- Repeat with finer grits: Repeat steps 1-3 with each subsequent grit of polishing compound, working your way from coarser to finer grits.
Achieving a High-Gloss Shine
After polishing with the finest grit compound, you can further enhance the shine of your headlights by using a headlight sealant or polish. These products create a protective layer over the lens, helping to prevent future oxidation and keep your headlights looking their best.
- Headlight Sealant: This is a durable coating that creates a barrier against UV rays, moisture, and other environmental factors. It helps to protect your headlights from future oxidation and fading.
- Headlight Polish: This is a less durable coating than sealant, but it can still help to enhance the shine of your headlights. It’s typically used to add a final layer of gloss after sealing.
Tip: When applying sealant or polish, use a clean microfiber cloth and apply it in thin, even coats. Allow the product to dry completely before driving.
With a little time and effort, you can transform your dull and cloudy headlights into crystal-clear beacons of light. By following the steps Artikeld in this guide, you’ll not only enhance your vehicle’s appearance but also improve its safety on the road. Remember, properly maintained headlights are crucial for visibility, especially during nighttime driving and adverse weather conditions. So, grab your tools, gather your materials, and get ready to restore your headlights to their former glory. Happy cleaning!

