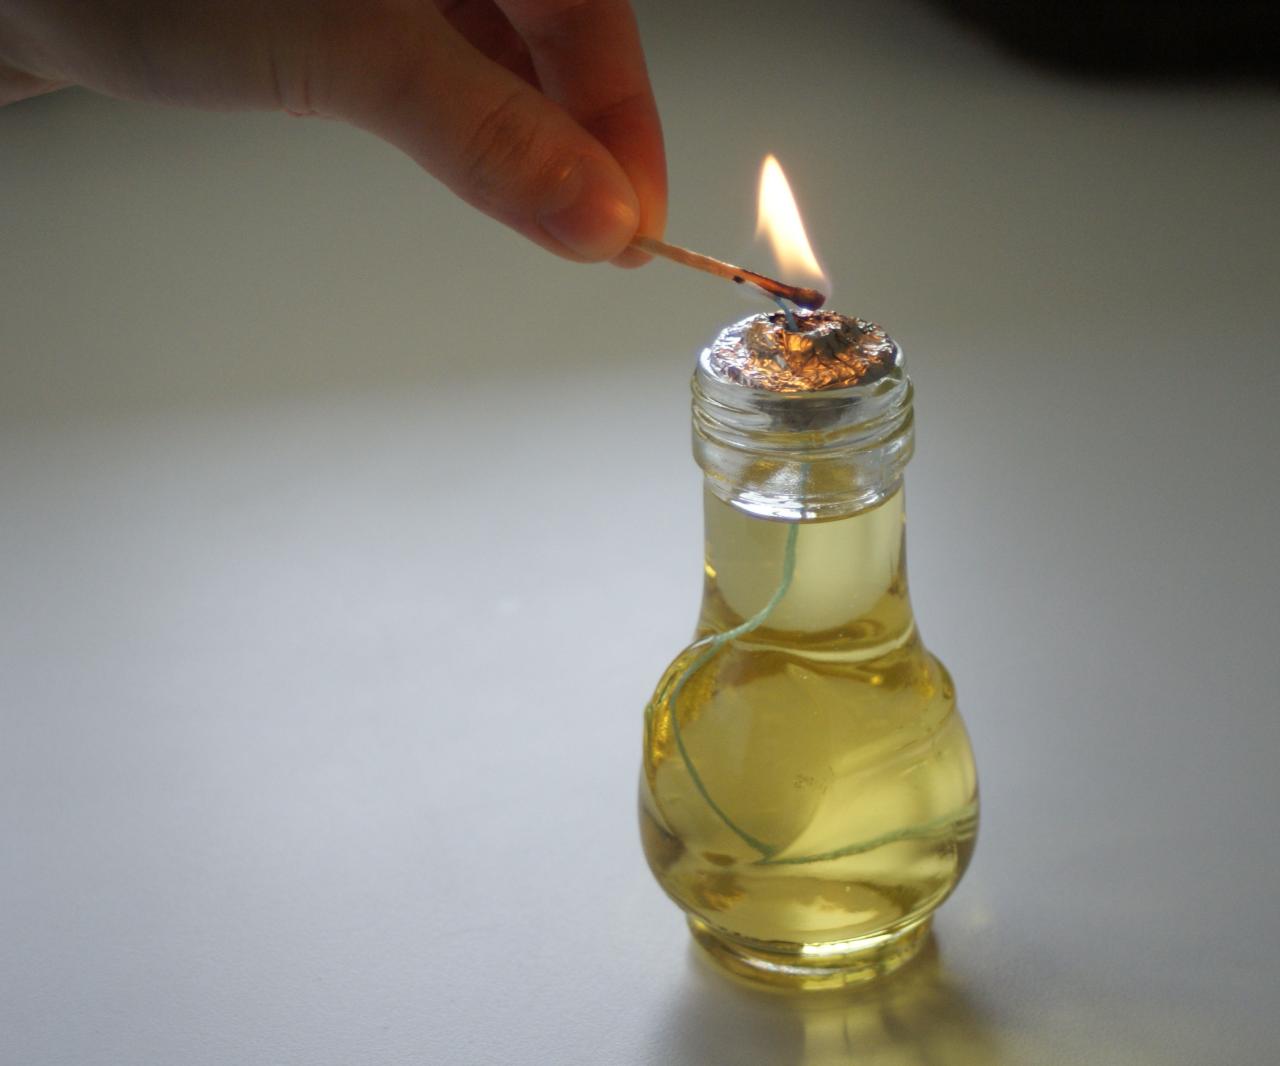
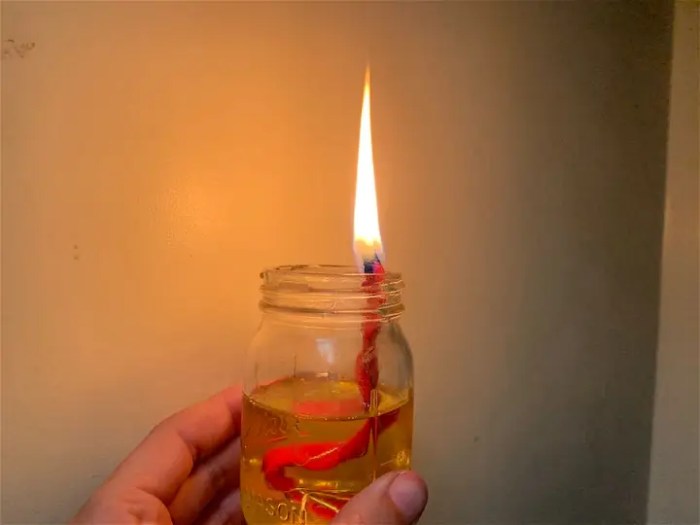
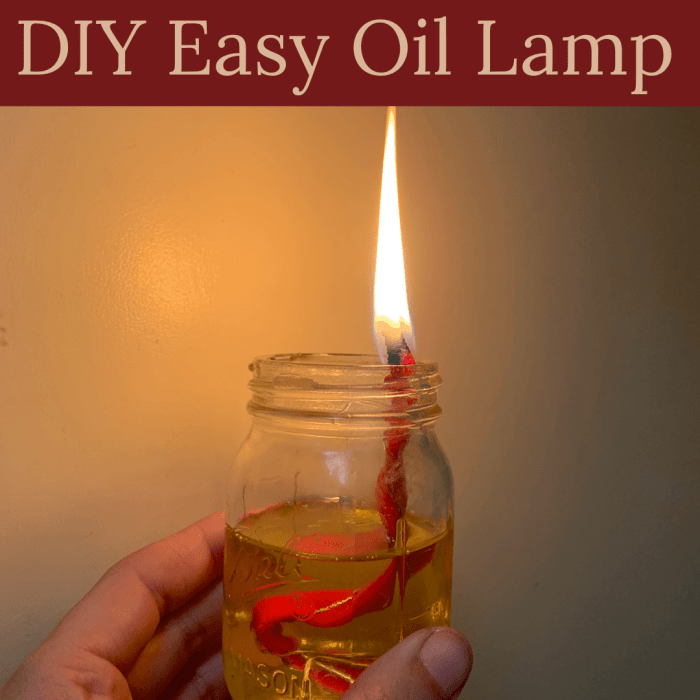
DIY oil lamps offer a captivating blend of practicality and charm, allowing you to illuminate your space with handcrafted warmth. From repurposed containers to elegant glass jars, the possibilities for creating unique and functional oil lamps are endless.
This guide delves into the fascinating world of DIY oil lamps, providing comprehensive information on design options, materials, safety considerations, and creative uses. Whether you’re a seasoned crafter or a curious beginner, this exploration will empower you to create beautiful and functional oil lamps that enhance your home and ignite your imagination.
Materials and Tools for DIY Oil Lamps

Creating a DIY oil lamp is a fun and rewarding project. With the right materials and tools, you can create a beautiful and functional light source that adds a touch of charm to any space. However, it is important to prioritize safety when working with fire and flammable materials.
Glass Containers
Glass containers are essential for holding the oil and wick. The size and shape of the container will determine the size and style of your lamp.
- Glass jars: These are readily available and come in various sizes and shapes. They are a good option for beginners, as they are relatively inexpensive and easy to work with.
- Wine bottles: These can be repurposed to create unique and elegant oil lamps. The shape and size of the bottle can add a touch of rustic charm to your lamp.
- Teacups: Small teacups can be used to create miniature oil lamps. They are a fun and decorative option for adding a touch of whimsy to your home.
When choosing a glass container, make sure it is heat-resistant and has a wide opening for easy access. Avoid using containers with narrow necks or fragile handles, as they can be difficult to work with and may pose a fire hazard.
Wicks
Wicks are the heart of an oil lamp, drawing oil up to the flame. They are typically made of cotton or linen, and come in various sizes and shapes.
- Round wicks: These are the most common type of wick, and they are available in a range of sizes. The size of the wick will depend on the size of your container and the type of oil you are using.
- Flat wicks: These wicks are wider than round wicks, and they are typically used for larger oil lamps. They provide a wider flame and can be more efficient than round wicks.
- Braided wicks: These wicks are made by braiding multiple strands of cotton or linen together. They are known for their durability and ability to absorb oil efficiently.
The wick should be long enough to reach the bottom of the container and should be trimmed regularly to maintain a consistent flame.
Oils
Oils are the fuel for your oil lamp. Choose a high-quality oil that is specifically designed for use in oil lamps.
- Mineral oil: This is a common and affordable oil for oil lamps. It is odorless and burns cleanly, but it can be difficult to extinguish. It is important to use mineral oil that is specifically designed for use in lamps, as other types of mineral oil can be harmful.
- Vegetable oil: Vegetable oils, such as soybean oil, canola oil, and olive oil, can be used in oil lamps. They are biodegradable and renewable, but they may produce a sooty flame. Some vegetable oils may also have a strong odor when burned.
- Kerosene: This is a highly flammable oil that is not recommended for use in homemade oil lamps. It can be dangerous and should only be used in lamps that are specifically designed for kerosene.
It is important to store oil safely, away from heat and open flames.
Tools
- Scissors: These are used to trim the wicks and cut the glass container to size if necessary.
- Wire cutters: These are used to cut wire for making a wick holder or other structural components.
- Glue gun: This is used to attach the wick holder to the container and to secure any decorative elements.
- Heat-resistant sealant: This is used to seal the wick holder to the container, preventing leaks and ensuring a safe and effective lamp.
- Measuring cup: This is used to measure the oil for your lamp.
- Safety glasses: These should be worn when working with glass or cutting wire.
- Gloves: These should be worn when handling hot glass or glue.
Fire Safety Precautions
Always prioritize safety when working with fire and flammable materials.
- Keep the lamp away from flammable materials: Avoid placing the lamp near curtains, furniture, or other objects that could easily catch fire.
- Never leave the lamp unattended: Always extinguish the flame before leaving the room or going to sleep.
- Keep a fire extinguisher handy: In case of a fire, a fire extinguisher can help put out the flames quickly and safely.
- Do not use flammable liquids: Never use gasoline, alcohol, or other flammable liquids in your oil lamp.
- Trim the wick regularly: A long wick can produce a large flame, increasing the risk of fire. Trim the wick to about ¼ inch to maintain a safe and consistent flame.
- Avoid using a lamp with a cracked or broken container: A cracked or broken container can leak oil, increasing the risk of fire.
It is important to use high-quality materials and tools to ensure the safety and effectiveness of your DIY oil lamp. A well-made lamp will provide a beautiful and functional light source for many years to come.
Choosing the Right Oil for DIY Lamps: Diy Oil Lamp

Selecting the appropriate oil is crucial for the safety and performance of your DIY lamp. Different oils have varying burning properties, scent profiles, and soot production levels. Understanding these characteristics will help you choose the best oil for your lamp.
Vegetable Oils, Diy oil lamp
Vegetable oils, derived from plants, are a popular choice for DIY lamps due to their readily available nature and relatively low cost.
- Soybean Oil: A widely used option, soybean oil burns relatively cleanly and produces a moderate amount of light. It is also relatively inexpensive. However, it can produce a slight odor and may require frequent trimming of the wick.
- Olive Oil: Known for its pleasant aroma, olive oil burns well but produces a significant amount of soot. It’s best suited for lamps with large wicks and ample ventilation.
- Canola Oil: Similar to soybean oil, canola oil burns cleanly and produces a moderate amount of light. It is a good alternative for those seeking a less odorous oil.
- Peanut Oil: This oil burns well and produces a good amount of light, but it can be expensive. It’s best suited for lamps with larger wicks.
Mineral Oils
Mineral oils, derived from petroleum, are specifically designed for use in lamps and offer several advantages.
- Kerosene: A common lamp fuel, kerosene burns brightly and produces a significant amount of light. It is relatively inexpensive and readily available. However, it can produce a strong odor and may require frequent wick trimming.
- Lamp Oil: Designed specifically for lamp use, lamp oil burns cleanly and produces minimal soot. It is often scented and comes in various colors. It’s a good choice for those seeking a clean-burning oil with a pleasant aroma.
Essential Oils
Essential oils, extracted from plants, can add a pleasant fragrance to your lamp. However, they should not be used alone as fuel due to their high volatility and flammability.
Essential oils are best used in small quantities, mixed with a base oil like lamp oil or vegetable oil, to enhance the scent of your lamp.
- Lavender Oil: Known for its calming scent, lavender oil can create a relaxing atmosphere in your home.
- Eucalyptus Oil: This oil has a refreshing and invigorating scent, making it a good choice for brightening up a room.
- Tea Tree Oil: This oil has a strong, medicinal scent and is known for its antimicrobial properties.
Safety Considerations
When using oil in your DIY lamp, prioritize safety by adhering to these guidelines:
- Use oils specifically designed for lamps: Avoid using oils not intended for lamp use, as they may be flammable or produce harmful fumes.
- Never leave a burning lamp unattended: Always extinguish the flame before leaving the room or going to sleep.
- Keep flammable materials away from the lamp: Ensure that curtains, furniture, and other flammable items are a safe distance from the lamp.
- Use a proper wick: Select a wick designed for the type of oil you are using. A wick that is too large or too small can lead to excessive smoke or a weak flame.
Historical and Cultural Significance of Oil Lamps

Oil lamps have a rich history spanning millennia, serving as the primary source of light for civilizations across the globe. From the flickering flames of ancient times to the more refined designs of later eras, these simple yet ingenious devices have played a pivotal role in shaping human history and culture.
Ancient Origins and Evolution
The earliest oil lamps, dating back to the Stone Age, were crude vessels filled with animal fat or vegetable oil, with a wick made of plant fibers. These rudimentary lamps provided a meager source of light, but they revolutionized human life by extending the day and allowing activities to continue after sunset. As civilizations advanced, so did the design and functionality of oil lamps. The Egyptians, known for their sophisticated craftsmanship, created lamps with elaborate decorations and intricate designs, often using precious materials like gold and silver. The Greeks and Romans further refined the technology, developing lamps with multiple wicks and adjustable flames. These advancements enabled them to create brighter and more efficient lamps, contributing to the development of their thriving societies.
Cultural Significance of Oil Lamps
Oil lamps transcended their practical purpose as mere sources of light, becoming deeply embedded in the cultural fabric of various societies. In ancient Greece, for instance, oil lamps were used in religious ceremonies, with offerings of oil being poured onto altars as a symbol of devotion. They were also associated with various deities, such as Athena, the goddess of wisdom, and Hermes, the messenger of the gods. In Roman culture, oil lamps were used in homes, temples, and public spaces, often adorned with intricate designs and inscriptions. They were also used in funerary rituals, representing the eternal flame of life. The cultural significance of oil lamps extended beyond the ancient world, influencing traditions and practices in numerous cultures across the globe.
Oil Lamps in Storytelling and Literature
Oil lamps have captured the imagination of storytellers and writers throughout history, appearing in countless myths, legends, and literary works. The flickering light of an oil lamp has often been used to create an atmosphere of mystery, suspense, and intrigue. In ancient Greek mythology, the story of Prometheus stealing fire from the gods is a testament to the power and significance of fire and light. In literature, oil lamps have been used to symbolize knowledge, hope, and the fragility of life. For example, in Charles Dickens’s novel “A Tale of Two Cities,” the flickering light of an oil lamp illuminates the dark and chaotic streets of London during the French Revolution.
Embark on a journey of creative exploration with DIY oil lamps, transforming ordinary objects into enchanting sources of light. As you learn the art of crafting these timeless luminaries, you’ll discover the joy of bringing a touch of history and handcrafted charm to your surroundings. Let the flickering glow of your DIY oil lamp illuminate your space and inspire your spirit.
DIY oil lamps are a great way to add a touch of ambiance to your home, and they can be surprisingly easy to make. If you’re looking for a more modern aesthetic, consider incorporating a mirror wall DIY project into your design. The reflective surface will create a stunning backdrop for your oil lamp, enhancing the overall effect.
With a little creativity, you can transform a simple oil lamp into a statement piece that complements your unique style.

